Endpoint Manager test-lab: Building VM's from ISO
Before we get started, let's start with why I am writing about this. As I'm setting up many Microsoft 365 environments for customers with Endpoint Manager (Intune) and Windows Autopilot, I am always in need of clients to test my setups. To make it easy on myself most of my testing can be done on a VM. You can't test any hardware dependent features, policies or software, but you can already verify en test a whole lot. I started building these with PowerShell to make it easier on myself and hopefully automating parts of it. I'm building my labs with Hyper-V since I'm familiar with it's PowerShell cmdlets. So let's get into how I do this.
Summary
-
1.1. Install Hyper-V
1.2. Get a Windows 10 ISO
1.3. Create the JSON file
-
2.1. Convert the iso to virtual disk
- Putting it all together
Prepare
Install Hyper-V
There are many different ways to activate Hyper-V on your machine. Describe below is how to do it with PowerShell on windows 10. If you want to set up on Windows Server 2019 for instance, the process below wont help you.
Enable Hyper-V using PowerShell on Windows 10 (You need the Pro, Enterprise or Education edition. Home won't work.)
-
Open a PowerShell console as Administrator.
- Run the following command:
Enable-WindowsOptionalFeature -Online -FeatureName Microsoft-Hyper-V -AllIf the command couldn't be found, make sure you're running PowerShell as Administrator.
- When the installation has completed, reboot.
There is more detail on Microsoft Docs. If you want to get this started on Windows Server instead, look here!
Get a Windows 10 ISO
Download the iso of the version you want to test with.
Good sources:
- Use the Windows 10 Media Creation Tool to create an ISO: https://www.microsoft.com/en-gb/software-download/windows10
- If you have a visual studio subscription you can get them from the visual studio portal: https://my.visualstudio.com/Downloads/Featured
- The Volume Licensing Service Center if you have access to it: https://www.microsoft.com/licensing/servicecenter/default.aspx
Create the JSON file
I previously blogged about this in my Tips&Tricks how to get these: Get autopilot profile JSON-configuration files for offline deployment
IMPORTANT: The file name must be named AutopilotConfigurationFile.json in addition to being encoded as ASCII/ANSI.
Building the VM
Convert the iso to virtual disk
To create your VM you could create a blank VM and link the ISO and do a full manual install from there. However, if you convert the ISO to a virtual disk you don’t have to go trough the tedious setup process. There are many scripts out there to handle this and probably even better methods than this one. But for this purpose I use the WindowsImageTools Module from the PowerShell Gallery. More info on this module can be found at: https://www.powershellgallery.com/packages/WindowsImageTools/1.9.19.0
You can read the creator’s creation thoughts on his blog:
Install the module by executing the following code in a Powershell Command Line with admin privileges:
Install-Module -Name WindowsImageToolsOnce this module is installed you can import the module to your powershell session using the following command:
Import-Module -Name WindowsImageToolsNow we are ready to use it to convert our ISO to a virtual disk. We will be using the “Convert-Wim2VHD” cmdlet to convert our disk. If you want to check out all the parameters you can apply with this cmdlet you can run the following command to get more information:
get-help convert-wim2vhdUse the command as follows to create your image file:
Convert-Wim2VHD -SourcePath <Pathe to ISO> -Path <Path for VHDX> -Dynamic -Size <Disk Size. ex: 50GB> -DiskLayout UEFI -Index <Index Number of the OS edition you want>TIP To get the OS edition index' from your ISO, check out me tips&tricks post: How to find the Windows edition index from an ISO (or DVD/USB)
Create our Virtual Machine
IMPORTANT We can get our machine ready for autopilot by dropping a json file in the virtual harddisk. We will discuss ways onboarding the machine in autopilot in the next chapter.
As we are creating Virtual Disks with PowerShell I want to keep everything familiar and create the VM with the New-VM cmdlet. What do we need to know first before we can run our command.
To create a virtual machine with an existing virtual hard disk you need to define:
-
Name is the name that you provide for the virtual machine that you're creating.
-
MemoryStartupBytes is the amount of memory that is available to the virtual machine at start up.
-
BootDevice is the device that the virtual machine boots to when it starts like the network adapter (NetworkAdapter) or virtual hard disk (VHD).
-
VHDPath is the path to the virtual machine disk that you want to use.
-
Path is the path to store the virtual machine configuration files.
-
Generation is the virtual machine generation. Use generation 1 for VHD and generation 2 for VHDX.
- Switch is the name of the virtual switch that you want the
virtual machine to use to connect to other virtual machines or the
network. If you want to know what switches are available you can
always execute the following command:
Get-VMSwitch * | Format-Table Name
This cumulates tot he following command:
New-VM -Name <Name> -MemoryStartupBytes <Memory> -BootDevice VHD -VHDPath <VHDPath> -Path <Path> -Generation 2 -Switch <SwitchName>After the VM is created you can simply start the VM by using the Get-VM
cmdlet en piping it to the Start-VM cmdlet as follows:
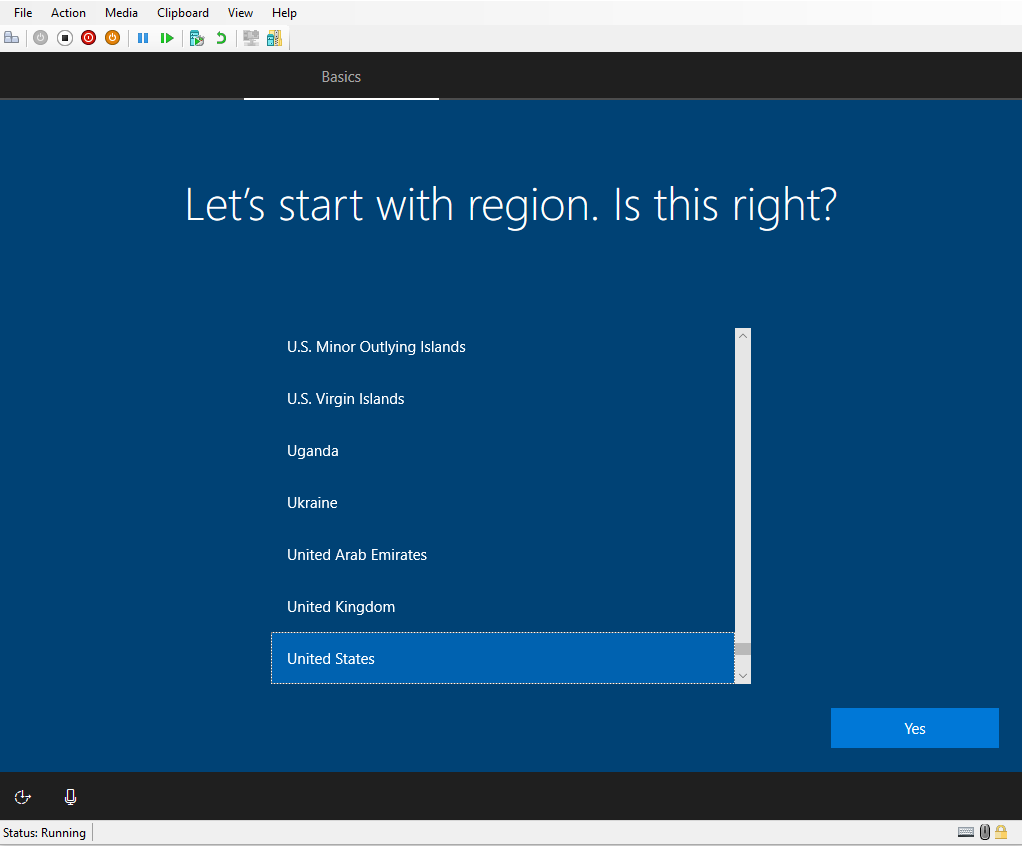
Get-VM <Name> | Start-VMWhen you Connect to the VM’s console afterwards, you get the OOBE-experience.
Onboarding your VM in Autopilot
Use the offline deployment profile
The offline Windows Autopilot deployment profile can be used on Windows 10, version 1809, or later. The only other requirements are that the file is named AutoPilotConfigurationFile.json and that the file is available in C:\Windows\Provisioning\Autopilot\. Below are a few example processes that can be used to prepare a device with an offline Windows Autopilot deployment profile.
-
Manual copy the file to the required location and SYSPREP the device.
-
Use a USB-stick to install Windows and in the same process copy the file to the required location and SYSPREP the device.
-
Use MDT to install Windows and in the same process copy the file to the required location and SYSPREP the device.
-
Use Configuration Manager to install Windows and in the same process copy the file to the required location and SYSPREP the device.
-
Use a third-party product to install Windows and in the same process copy the file to the required location and SYSPREP the device.
- For our purpose we’ll just mount the VHD before we create our VM. Copy the file manually to the required location and unmount the VHD.
Steps to complete:
- Mount the virtual disk by right-clicking the VHDX file and click on Mount in the context menu.
- Browse to the <Driveletter>:\Windows\Provisioning\Autopilot\ path of the mounted disk.
- Copy the JSON file in this path and make sure you name it AutoPilotConfigurationFile.json
IMPORTANT Multiple JSON profile files can be used, but each must be named AutopilotConfigurationFile.json in order for OOBE to follow the Autopilot experience. The file also must be encoded as ANSI. Saving the file with Unicode or UTF-8 encoding or saving it with a different file name will cause Windows 10 OOBE to not follow the Autopilot experience.
TIP It’s also possible to group devices based on the fact that it was deployed via an offline Windows Autopilot deployment profile. Devices that are enrolled by using an offline Windows Autopilot deployment profile, will have the Azure AD device attribute enrollmentProfileName set to “OfflineAutopilotprofile-<ZtdCorrelationId>”. The ZtdCorrelationId is available in the offline Windows Autopilot deployment profile as shown and mentioned above. That would make a dynamic query for an Azure AD device group like this: (device.enrollmentProfileName -eq “OfflineAutopilotprofile-7F9E6025-1E13-45F3-BF82-A3E8C5B59EAC”).
Use the Upload-WindowsAutopilotDeviceInfo Script
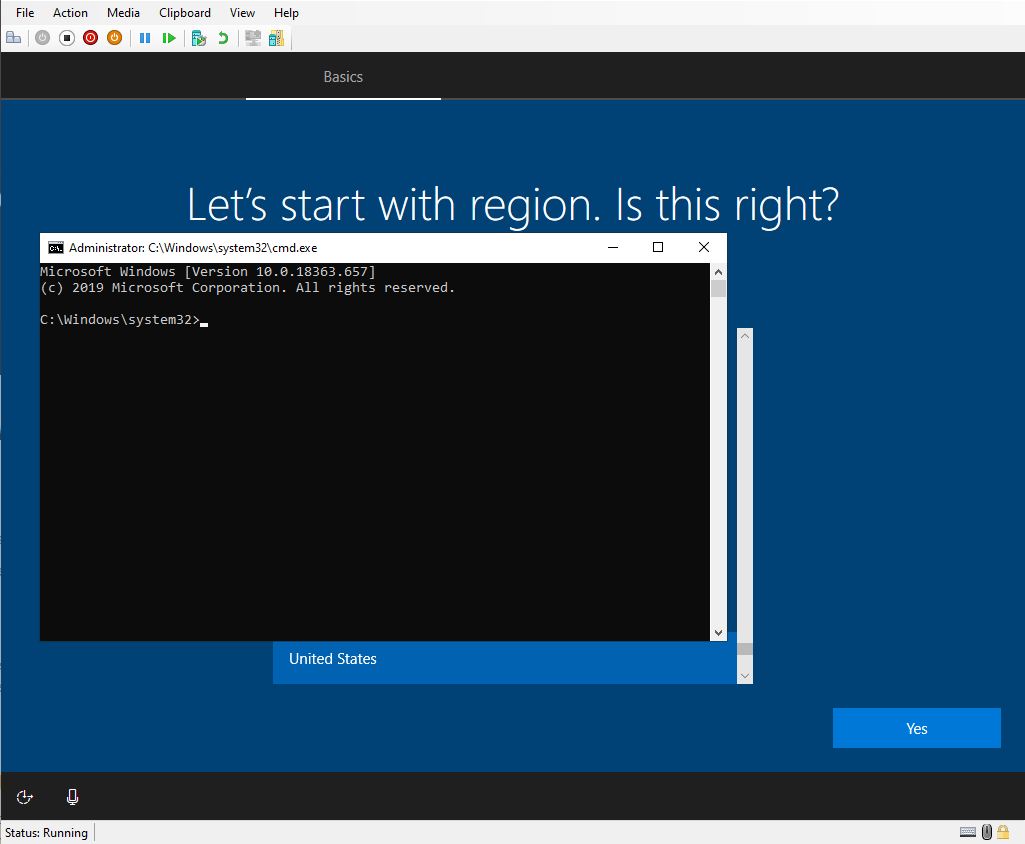
This methods allows you to capture and upload the hardware hash and device information that is require to register your device in one go. You use this on existing devices before you reset them for Autopilot deployment, but for our test VM we’ll use it in the out-of-the-box-experience (OOBE) before our Windows 10 is set up. This way we prevent having to go through setting up the device, registering it in autopilot and than resetting it again for deployment with autopilot. How do we achieve this? By using the key-combination that was made famous by Sami Laiho: “Shift+F10” and Michael Niehaus' Get-WindowsAutopilotInfo script.
From here we take the following steps:
-
Type in
PowerShelland press Enter to get access to the PowerShell cmdlets. -
We install the script to capture and upload the device info by executing the following command:
Install-Script -Name Get-WindowsAutopilotInfo -
Answer Yes (Y) on all the subsequent questions so the script gets installed.
-
The Execution policy is set to “Restricted” by default. That means we will not be able to run our script, because the policy will block this. We can bypass this by running the following command:
Set-ExecutionPolicy Bypass -Scope Process -
Now we will be able to run our script. We need to provide the following parameters:
- Tenantname: you can provide the <Tenant>.onmicrosoft.com domain or one of the verified domains of the tenant
- GroupTag to cathegorize your device in the autopilot portal. You can also use this value as a way to assign een different autopilot deployment profile for the device. You could use the tag “TestVMs” for instance to identify your test VMs.
- UserPrincipalName is the UserPrincipalName of the user you want to assign the device too. This value is not mandatory.
- This culminates in the following command that when executed and
subsequently you authenticate with an admin account that has the
privileges to register an autopilot device, you will register this
device in autopilot:
.\GetWindowsAutoPilotInfo.ps1 -Online -GroupTag <GroupTag>
IMPORTANT To be able to deploy this device with autopilot you now have assign an autopilot deployment profile to this device.
Putting it all together
It's not easy to remember all this logic and go trough it every time you need to deploy test VM's. That's why I wanted to bring this all together in an easy to use PowerShell Function. I started this and came to a first working concept already. You can find the function and its future updates in my GitHub. Hopefully at some point it will be good enough to publish to the PowerShell Gallery. I provide it without guarantees, but you are free to adapt for your own uses.